

Though I worried over this, I eventually decided to not put the sink back in. I could not find a place to buy a decent pump and the old sink was not likely to serve a purpose on a consistent basis. If I need to put it in, it is only a matter of sawing a hole and putting it back.
The top of the cabinet is covered in $35 worth of flooring material. I figure its tough, it can stand a little water and it was easy to fit. I opted for this vs laminate because the only laminate I could find was fairly ugly and cost way too much.
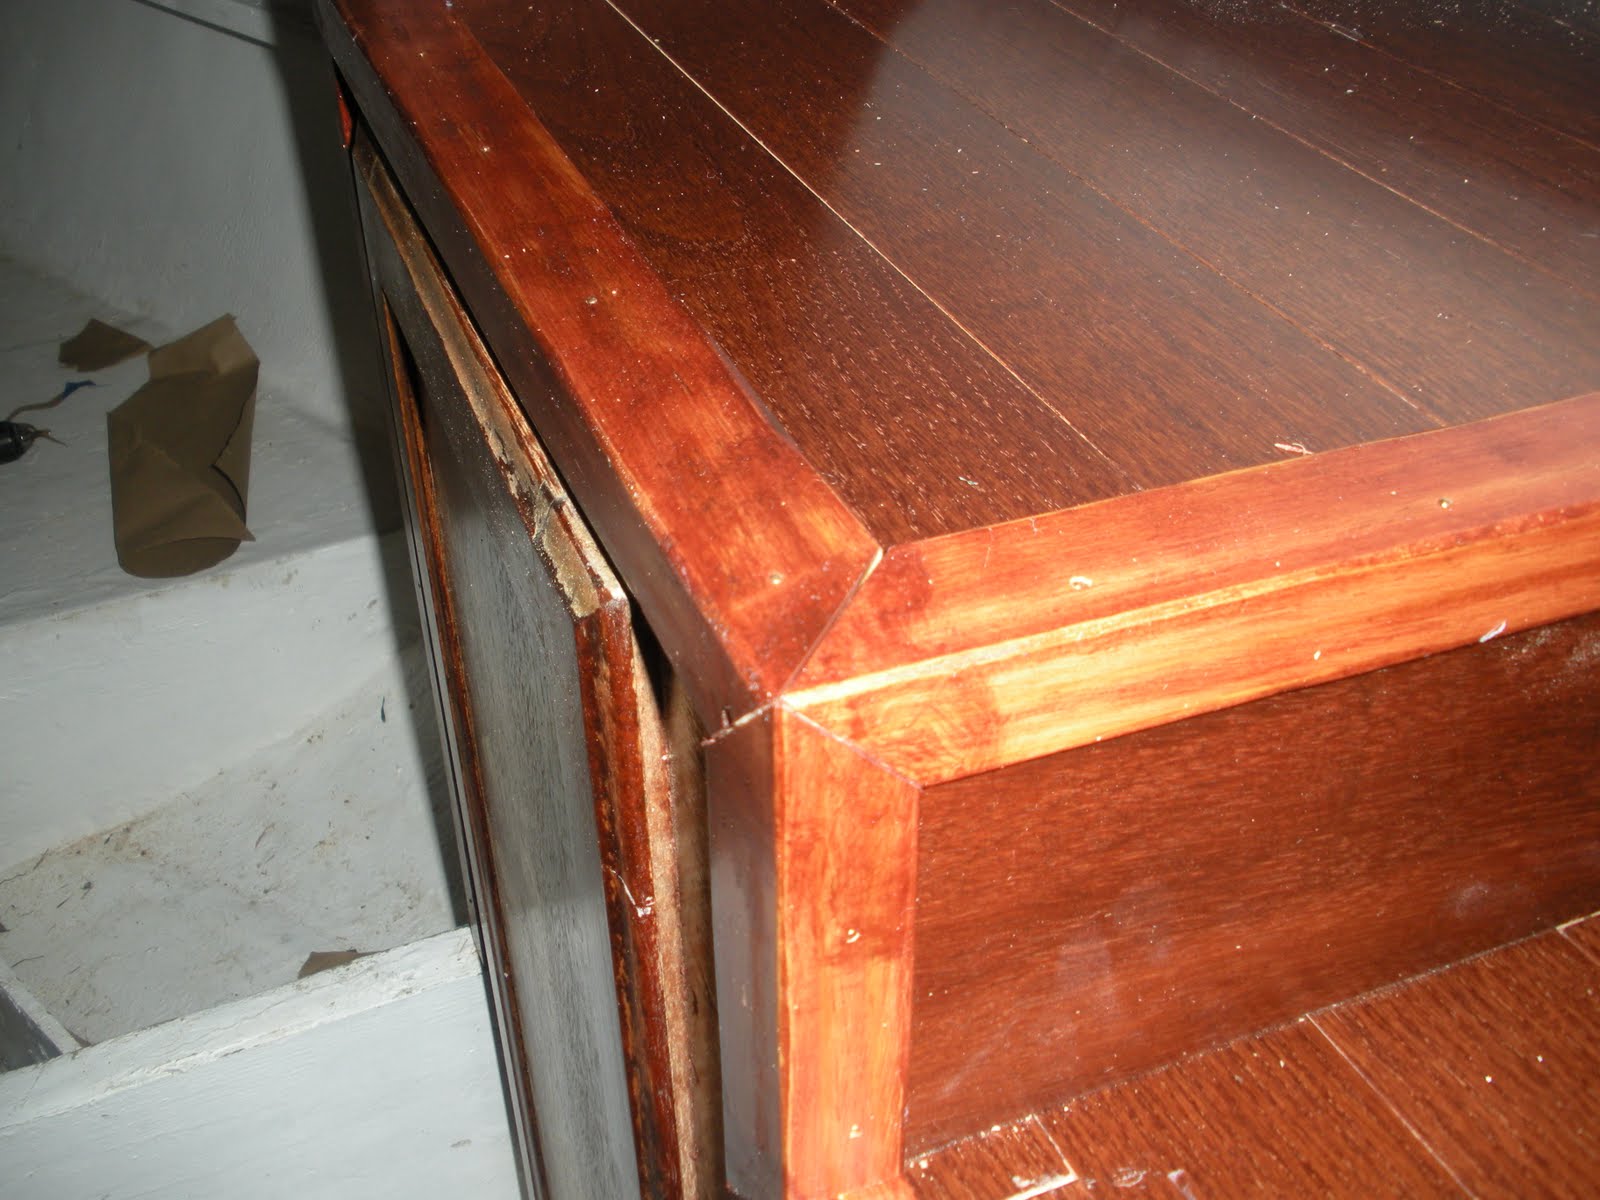
The L-shaped edges were the product of a lot of careful cutting of a treated 2x4. I ended up with six 8' lengths which I sanded, stained and covered in Minwax. Each has three coats. I intentionally did not color match them to the surfaces for the simple reason I want a little contract. You will note that the vertical and horizontal surfaced do match even though they are completely different materials.

This is a retro picture of Lenard Nemoy. It has nothing to do with the project, but you have to admit its a VERY cool photo. I would like to reference the photographer, but none was posted.
If you are not chucking a little, my humor is lost on you.

Though I had intended to add a little "flow" to the portal, it kind of ended up looking like a duck's head once I matched it to the contour of the cabin roof. Of course I did not fully appreciate this unfortunate resemblance until AFTER I had expoxied it in.
Quack Quack.

I could do some paneling, but that would a LOT of work and planning. If my patience does not exhaust itself with this finish work, I'll consider it.

I had to installed a secondary handle. It works fine and does not look all that bad.

I should have made both pieces at the same time to make this easier. Hindsight. The door is original. I encourage everyone to reuse anything you can. Fabrication does get tedious. Yes, the color is off, but I'm not as concerned as I should be.

My intent is to finish painting the entire area and then reinstall the teak stripping that lines the shelves.
If you look carefully, you can see that each shelf now has a triangular support reinforcing it. To get the supporting panel into place, I had to cut the shelves at an angle and thereby removing an anchor point. The supports are so strong that I can now step on the shelves when crawling in and out of the hatch, something I could not do before. I would encourage this addition. These shelves are only taped into place. They can carry very little weight.


No comments:
Post a Comment