
What I could not unscrew, I taped up. It's not pretty, but the next owner can lament my shortcuts at some later date.
 This is the end result of much scrubbing and rolling of the primer. The next step will be to finish up the rest of the boat. Since you can't paint half a boat, I've gotten myself into a predicament. I know I have to get it presentable, but the practical side of doing the job right demands I ask for forgiveness if its not ready by the 26th. My biggest convern is that any area I prime, I have to go back over with emory paper.....THAT is going to take the longest.
 Here's the last picture I'm going to take of the cover over the indetation. No more annoying, useless box....and you can stand on it.
 With the paining came the despised job or removing the stancheons I freshly installed a few months back. I noticed one was dripping, so it had to come out. I picked up in some old boat magazine a tip on drilling through the top deck. You don't just drill the minimal hole, goop on silicone and let it go. You have to mark your intended hole, drill over-sized holes and back fill with resin. You then drill you final holes through the resin plugs. This way, if ever you get a leak, you are ensured that you won't get water into the wood core. If that happens you may as well go get another boat because I don't anyone who can fix something like that without serious experience.

 Inside the cabin, I decided that since a little panneling was good, a lot of panneling would be better. Here's an old picture of the initial rebuild. It give a little more prespective to the after pic.
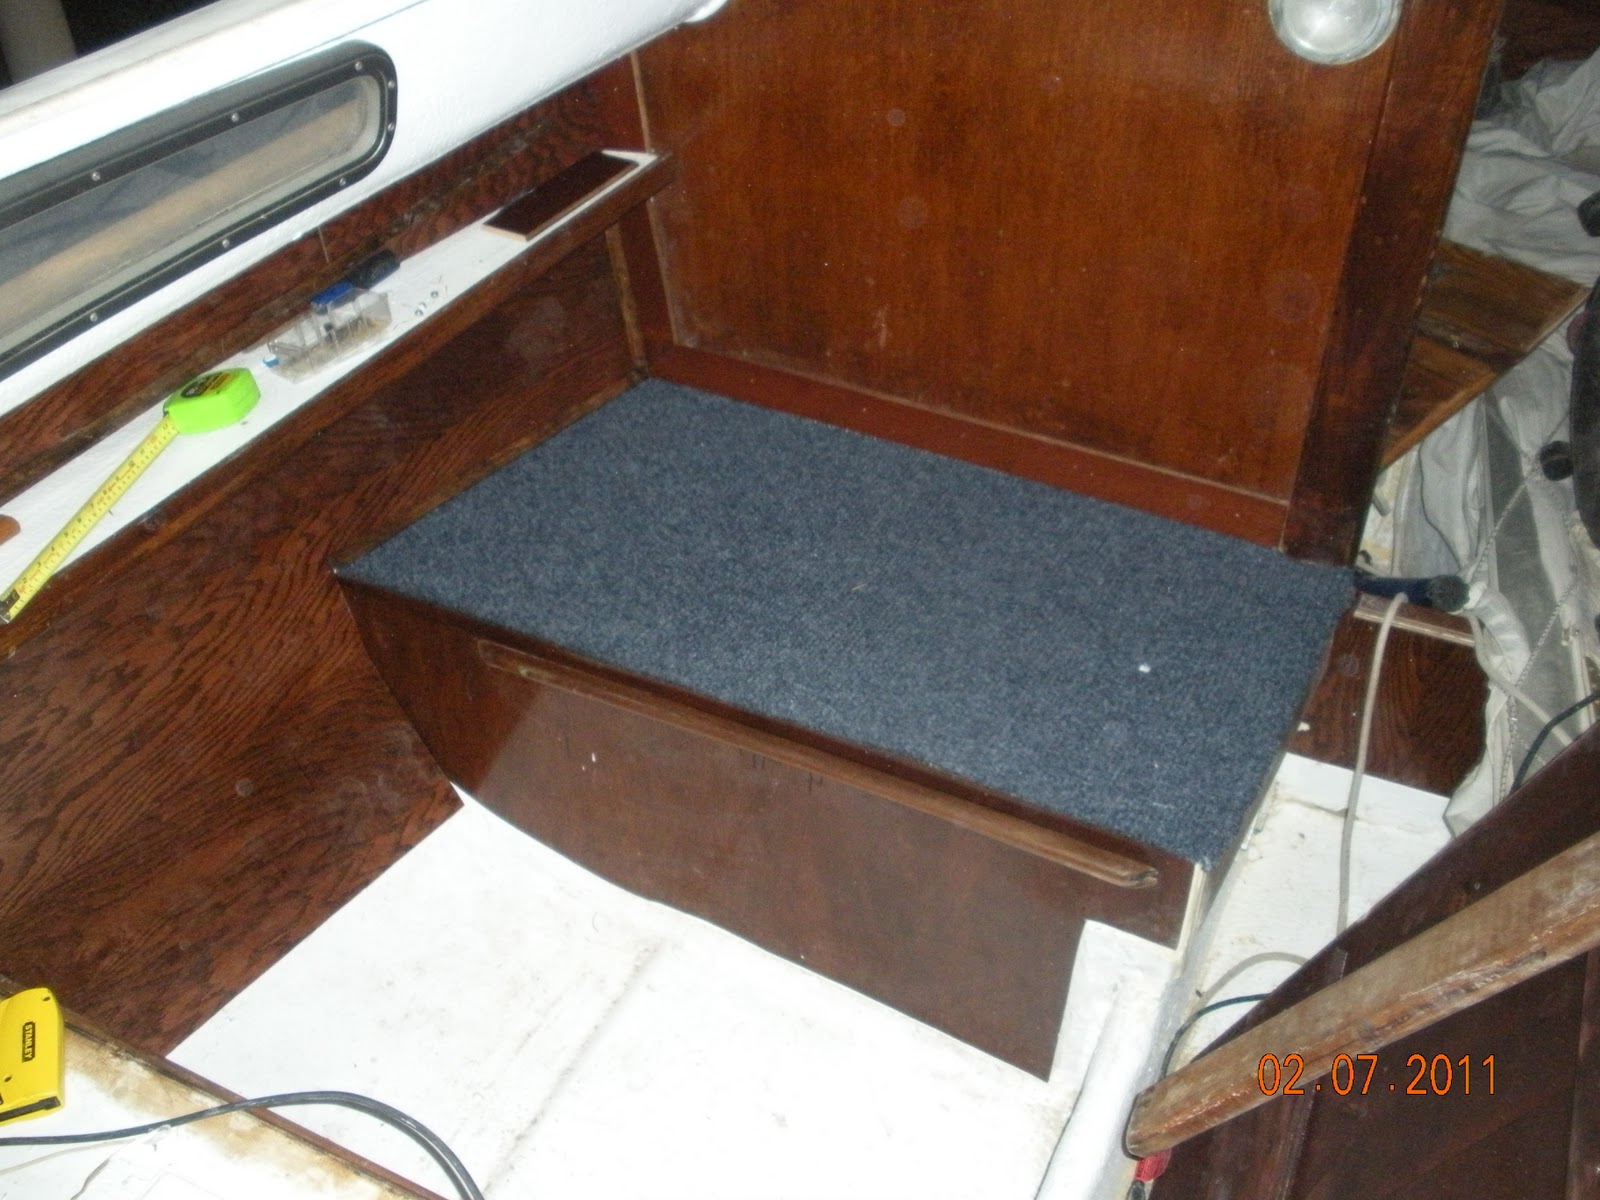 After a lot of cutting, fitting, cutting and refitting, I eventually ended up with this product. Granted it is not perfect, but it is as near as I'm going to get with the tools at my disposal. Notice that I also took some spare pieces and covered the white resin strips that held the wall in place
 You can't see it very clearly since the wood is all blending in, but I installed 1/4 round along the hull to clean the carpet edge up.
...and before anyone says it, yea, I know the wood grains don't match, much less the stains I used. Ya work with what ya got.
 The outdoor carpet, I picked up at Home depot. Blue seemed to be a logical choice, vs. bright green or charcol. It is glued and stainless steel stappled on the seats. I folded the edges under and stapled them into submission.
  Cutting out the hole was as easy as following the edge of the seams with a razor. Again, I stapled every 3-5" along the edge to keep it tidy.

No comments:
Post a Comment